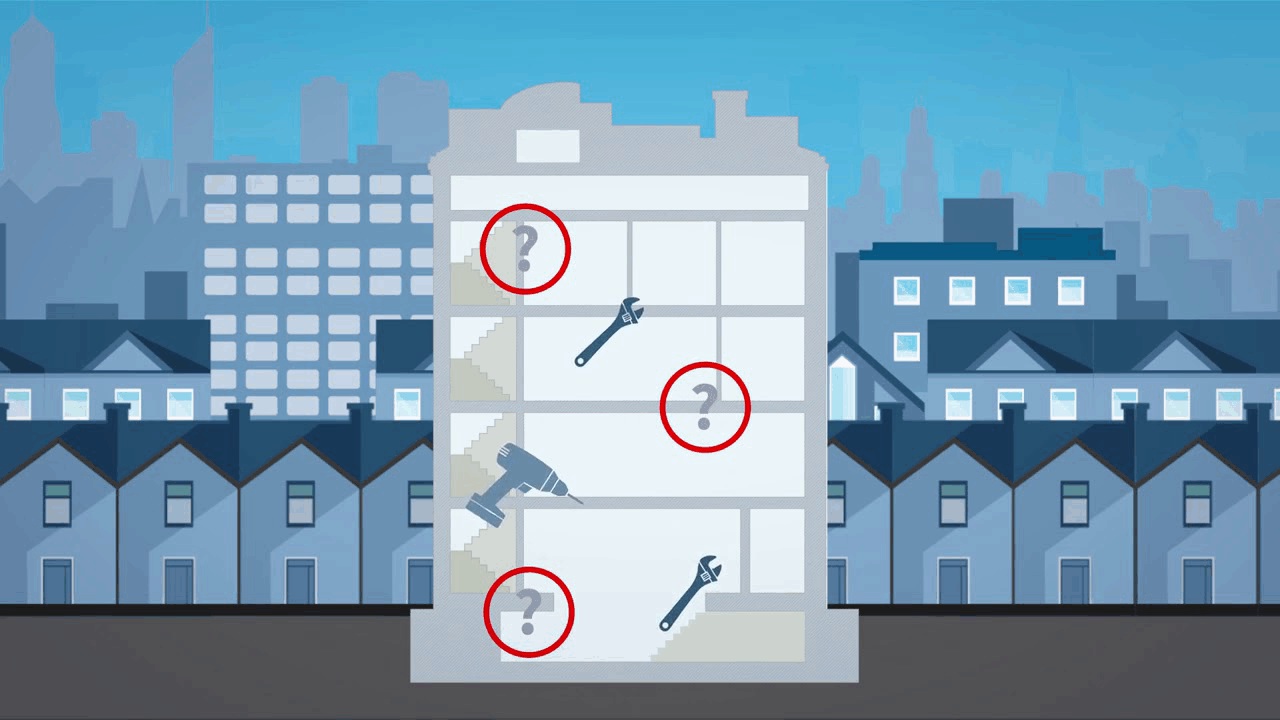
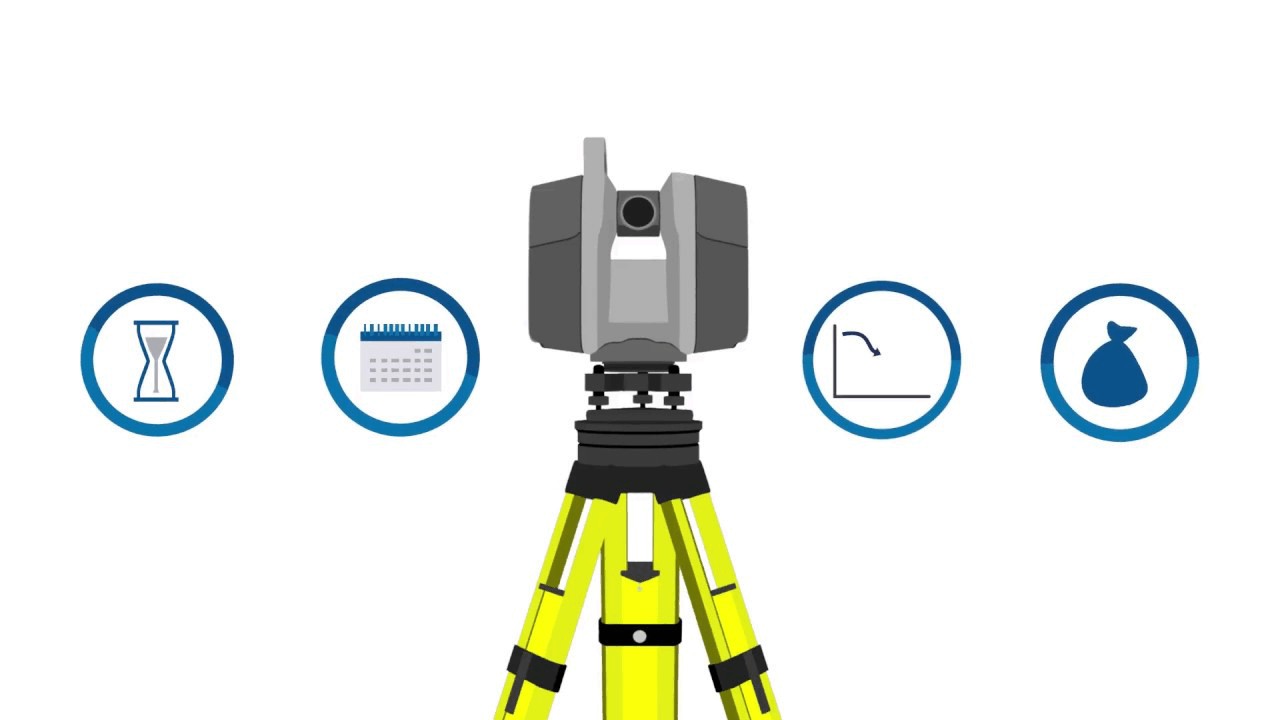
Have you noticed in the AEC industry that a lot of interest has been generated around laser scanning? The reason for this is that scanning provides a fast and accurate way to collect large amounts of measurement data to be used in both the design and construction process.

This data can then be used to assist design, be applied to 3D model coordination or provide as-built documentation either as point cloud data or 3D modeled objects. To understand the basics of scanning let’s look at the three steps of the scanning workflow.
3 Step Scanning Workflow
There are three steps that make up the basic scanning workflow: scan, register, and detail.
Step 1: Scan
The first step places a scanning instrument in the field to collect measurements of individual points using a laser. The measurement technology is similar to the measurements taken by a robotic total station where points are recorded with an X, Y, and Z value. The instrument will rotate 360° horizontally, collecting multiple measurements in a 300° vertical window. Once measured, these points resemble a “cloud” and provide an accurate 3D representation of the area that was scanned. In typical applications, multiple scans are made by placing the instrument in different locations so that measurement data is collected from various angles. The multiple scans increase the accuracy of the data. When all measurements of an area have been taken the next step of the scanning process is to register the data.
Step 2: Register
The second step of the scanning workflow is to register the data. During the scanning process, two types of targets are placed in the area to be scanned. These objects are either free-standing spheres or checkerboard targets attached to a surface. The targets help to align the multiple scans into one composite model by linking common targets found in each individual image. A minimum of three common targets in each individual scan is needed. Software that is designed to register point cloud data can then detect these common targets automatically to “stitch” together with the individual scans into one composite 3D point cloud model.
The detection of targets can also be done manually using the point cloud software. In addition to the targets, common elements found in each scan can also be identified to register the data. Once registered, the composite 3D point cloud model can be either exported to other applications or detailed using modeling software.
Step 3: Detail
The last step in the scanning workflow is to detail the registered 3D point cloud data. Using modeling software, individual elements of the point cloud data can be isolated and 3D objects can be modeled from the information. An entire model can be created using the registered data. The 3D representation can then be used to detail and understand how new elements will connect to existing conditions.
How can scanning help contractors?
The scanned data can be used to assist design. Renovation and adaptive reuse projects require accurate drawings and documentation to work from. This level of information often does not exist or the drawings available do not represent the actual condition built in the field. To create drawings, manual measurements can be taken of a space; however, this process is both time-consuming and prone to human error. Scanning is a fast and accurate way to collect large amounts of measurement data that can be modeled and used in the design.
The registered point cloud can also be applied to 3D model coordination. By overlaying the point cloud model with the design model, project teams can visually check for conflicts between existing and new conditions. Last of all, as building owners become more sophisticated with their Building Information Model requirements on projects, scanning provides the solution to address both QA/QC needs and create accurate documentation of installed systems. Information can be given to building owners as either point cloud data or 3D modeled objects that can be applied to facilities management.
Scanning technology is a tool that will continue to evolve and become more accessible to the industry. It is being adopted to increase accuracy, efficiency and develop new services in the construction industry. Are you ready to embrace the next wave of technology?


![[On Demand] Cloud Engine, a point cloud software that has benefits across construction lifecycle](https://play.vidyard.com/krDXXSZc79pBq8qPSi6W2L.jpg)
![[On-Demand Webinar] - Scan Essentials by Trimble, modéliser à partir d'un nuage de points](https://content.cdntwrk.com/mediaproxy?url=https%3A%2F%2Fplay.vidyard.com%2FA8gbz15oHds6JLskjgic5C.jpg&size=1&version=1692731292&sig=26f2e76e220448d9bb5042f0e684237c&default=)
![[On demand webinar] Laser Scanning Myths Busted for Mechanical & Electrical Professionals](https://content.cdntwrk.com/mediaproxy?url=https%3A%2F%2Fplay.vidyard.com%2FEbAQRaubYhCRh1H5qdMoYZ.jpg&size=1&version=1692731300&sig=67ee3bbda98878ba84acb3d96b1ce197&default=)


